Small Bathroom Before & After: A Budget Storage Makeover
This post may contain affiliate links. If you purchase through one, SofiDecor may earn a small commission at no extra cost to you.
Every small bathroom storage makeover starts the same way: standing in the doorway, looking at a counter that has quietly disappeared under bottles, and wondering whether the room actually needs a renovation or just an honest afternoon.
This one is the second kind. No plumbing moved, no contractor called, no budget beyond a shelf, a basket, and a mirrored cabinet.
What follows is a typical makeover of this kind, step by step, with realistic costs and timing attached to each part of it.
Before: What a Cluttered Small Bathroom Actually Looks Like
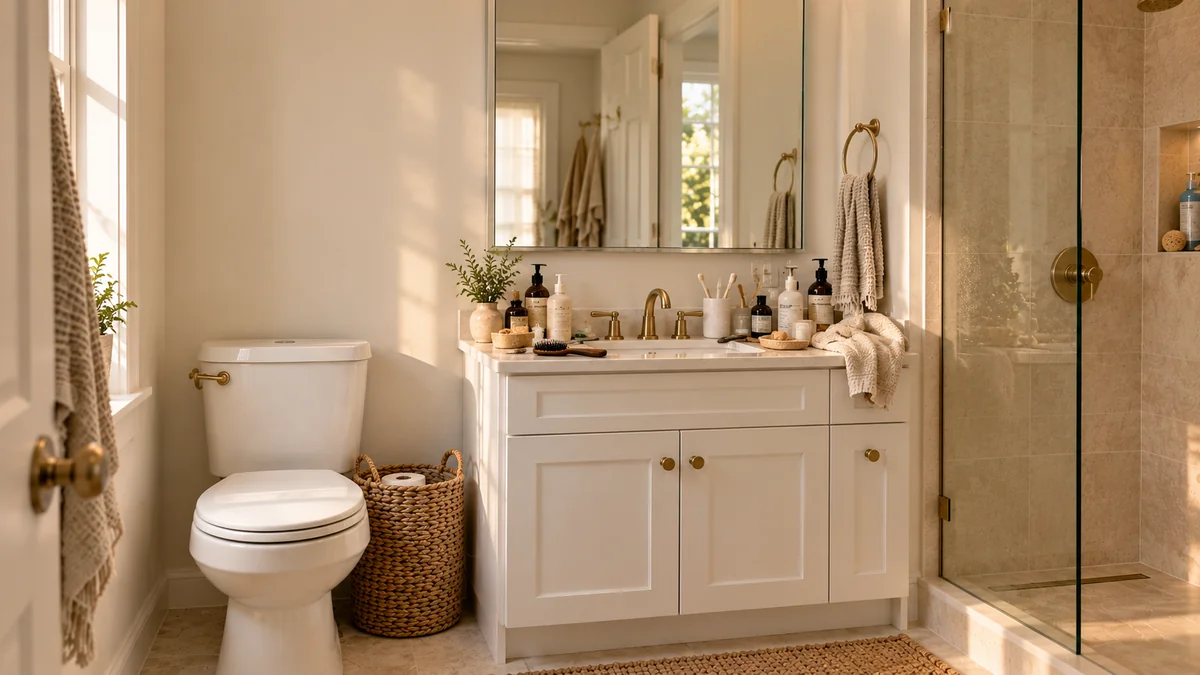
Picture a typical small bathroom in an older apartment building. The counter holds everything with nowhere else to go: half-used bottles, a toothbrush holder crowded past its capacity, a spare roll of toilet paper propped in the corner because the cabinet underneath is already full.
None of it is actually a lot of stuff. It just never had a designated home, so it all landed in the one spot that was always in reach: the counter itself.
The cabinet under the sink tells the same story from a different angle: half a shelf of cleaning supplies stacked three deep, a hair dryer wedged sideways, and just enough empty space at the very back to be genuinely useless.
Getting ready most mornings means nudging bottles aside just to reach the sink, then nudging them back afterward, a small friction repeated twice a day for months without anyone quite noticing it.
Nothing about this bathroom is unusual. It is the same size as thousands of others in older apartment buildings, with one mirror, one shallow cabinet underneath the sink, and no built-in storage beyond that.
The clutter has simply accumulated the way it does in any small room used twice a day for years: one new product at a time, each one reasonable on its own, none of them ever given an actual place to live.
Why This Order of Operations Works
Most failed attempts at fixing a bathroom like this one start with a shopping trip. New bins arrive, get filled with whatever was already on the counter, and the room looks tidy for about a week.
The problem was never addressed, only repackaged. The clutter is still there, just hidden inside something new.
Editing first and buying second reverses that order, and it is the single biggest reason a fix like this one holds up for months rather than days.
It also changes how much gets bought. A counter edited down to what actually gets used daily needs far less storage than a counter still carrying everything that was ever purchased for it.
That is why this makeover needs only three additions instead of the five or six a less deliberate approach would have reached for.
Step One: Clear the Counter First
Every small bathroom storage makeover should start with subtraction, not shopping. Clearing the counter completely, before buying a single organizer, reveals how much of the clutter was never really about a lack of storage at all.
Half-empty product bottles, duplicate tools, and anything untouched in the last month rarely need a new home. They need to leave the room entirely.
An edit almost always outperforms a purchase, and it costs nothing but twenty honest minutes.
In a typical small bathroom, that first pass removes a surprising share of what sits on the counter: expired products, duplicate travel bottles, and sample-size lotions nobody remembers buying. Expired medicines deserve a little care; the FDA’s guide to disposing of unused medicines explains the safe way to get rid of them.
What survives the edit falls into two groups without much debate: things used every single day, and things used rarely enough to live out of sight. That split decides almost everything about which storage comes next.
Step Two: Add the Shelf, the Basket, and the Cabinet
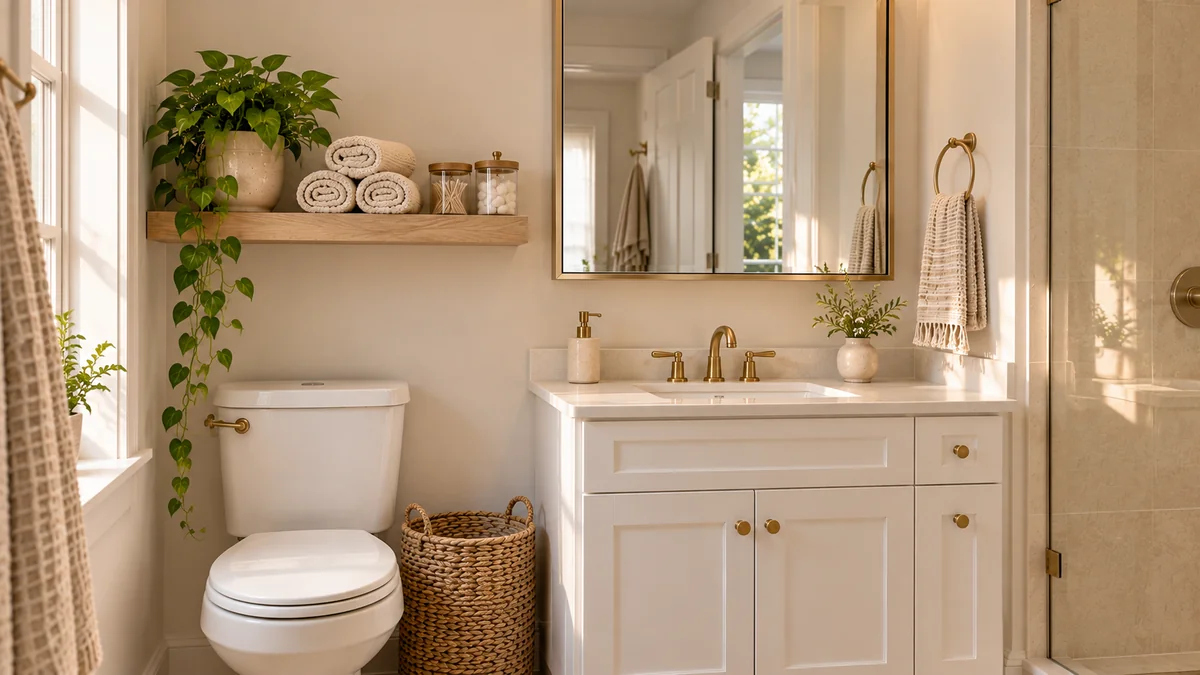
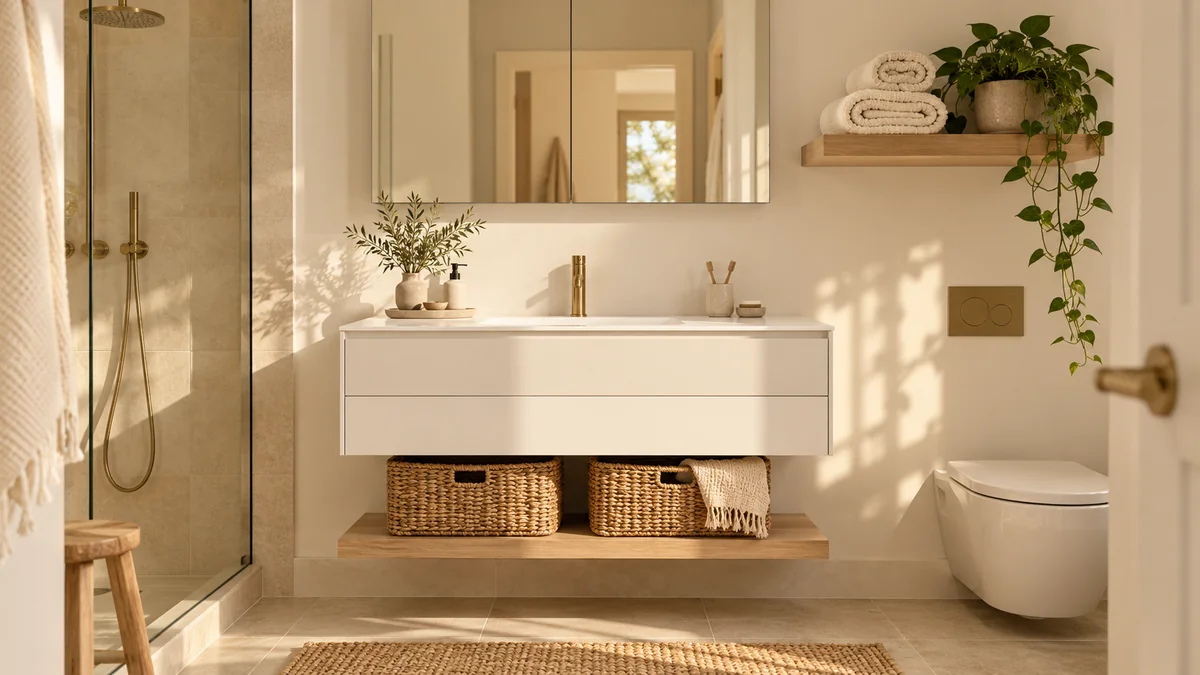
What remains after that first pass usually fits into far less storage than it seemed to require. A single floating shelf claims the vertical space above the counter that was always sitting empty.
Installation takes under thirty minutes, two screws and a level, and it immediately becomes the spot for the three products actually used every day.
A plain wood bracket shelf works better than a glass one, since glass shows water spots within days in a room this humid, and wiping it down daily rarely happens in real life.
A woven basket absorbs anything genuinely unattractive, spare paper, cleaning supplies, without a single visible lid. It sits on the floor beside the vanity, low enough to grab without bending far.
A seagrass version is a better choice than a fabric one, since seagrass dries faster and will not develop the faint mildew smell a damp fabric basket can pick up over time.
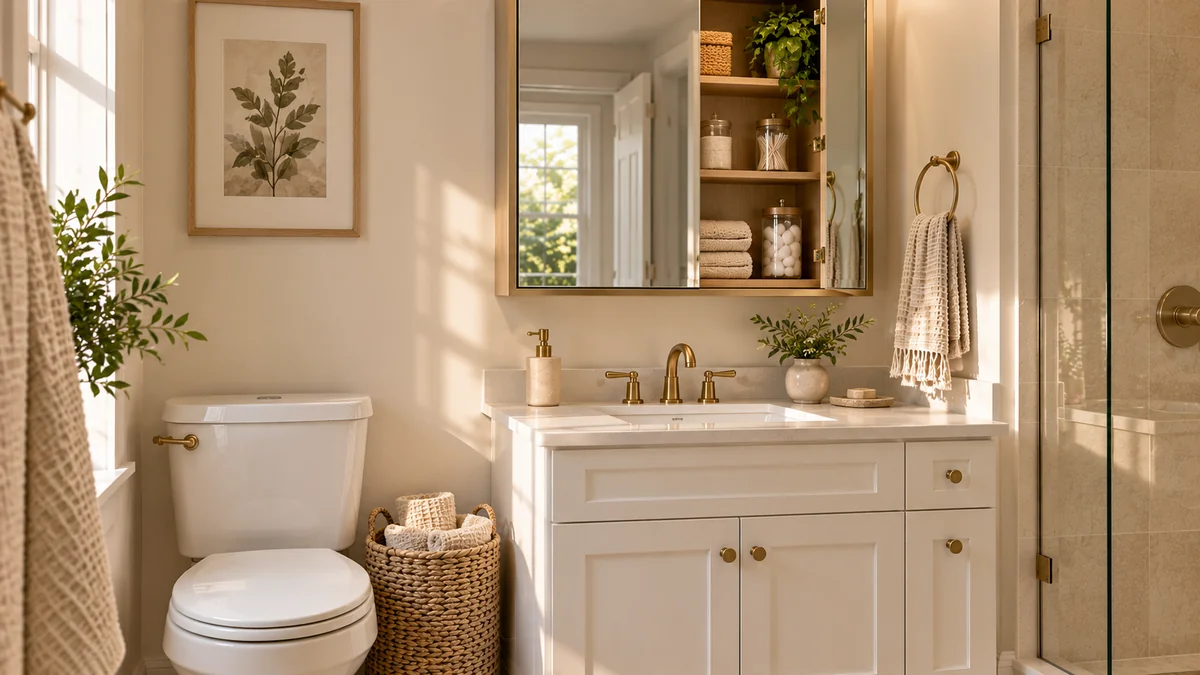
A mirrored cabinet adds real, enclosed depth without asking the room for a single extra inch of footprint. If it replaces a plain mirror that is already there, the only new cost is the difference in price between the two.
A surface-mounted version is the smarter choice over a recessed one. Cutting into the wall for a recessed cabinet means a level of commitment a budget makeover should never require.
A small bathroom storage makeover like this one can come in under two hundred dollars for all three pieces, installed in a single Saturday afternoon with nothing more than a drill and a level.
What This Makeover Costs
| Item | Typical Price | Install Time |
|---|---|---|
| Wood floating shelf | $15–$40 | 30 minutes |
| Seagrass basket | $15–$35 | None |
| Surface-mounted mirrored cabinet | $60–$150 | About 1 hour |
| Total | About $90–$200 | One afternoon |
Prices vary by brand, size, and store, but all three pieces are widely available in this range.
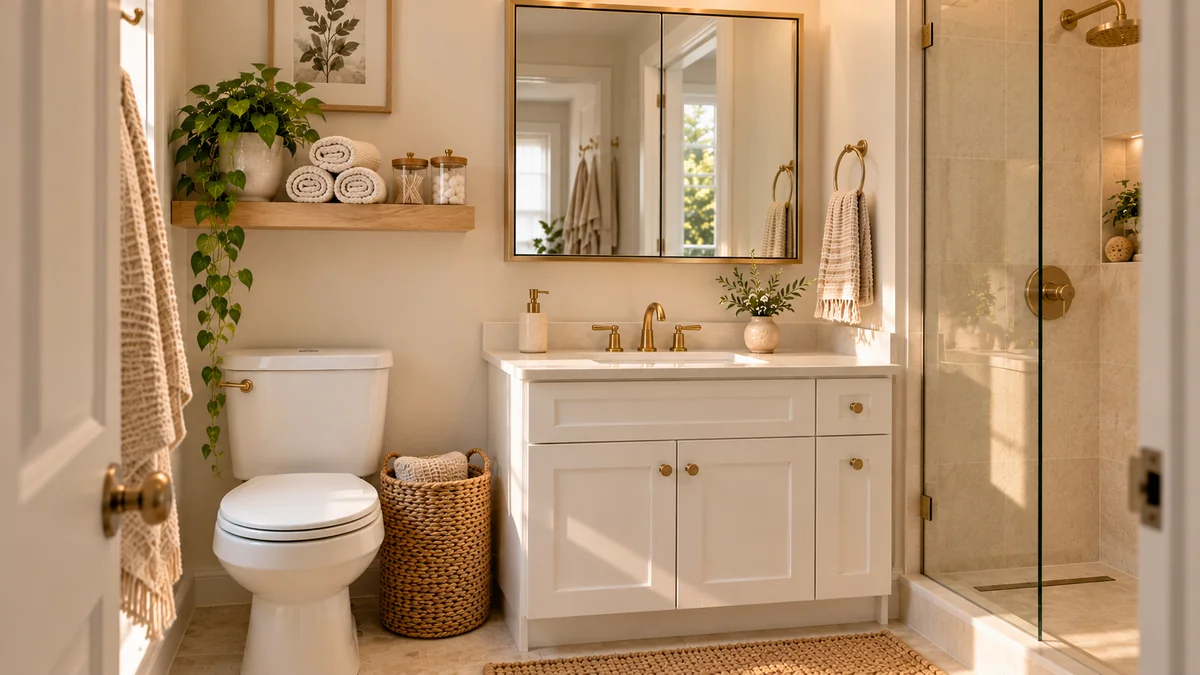
After: The Reveal
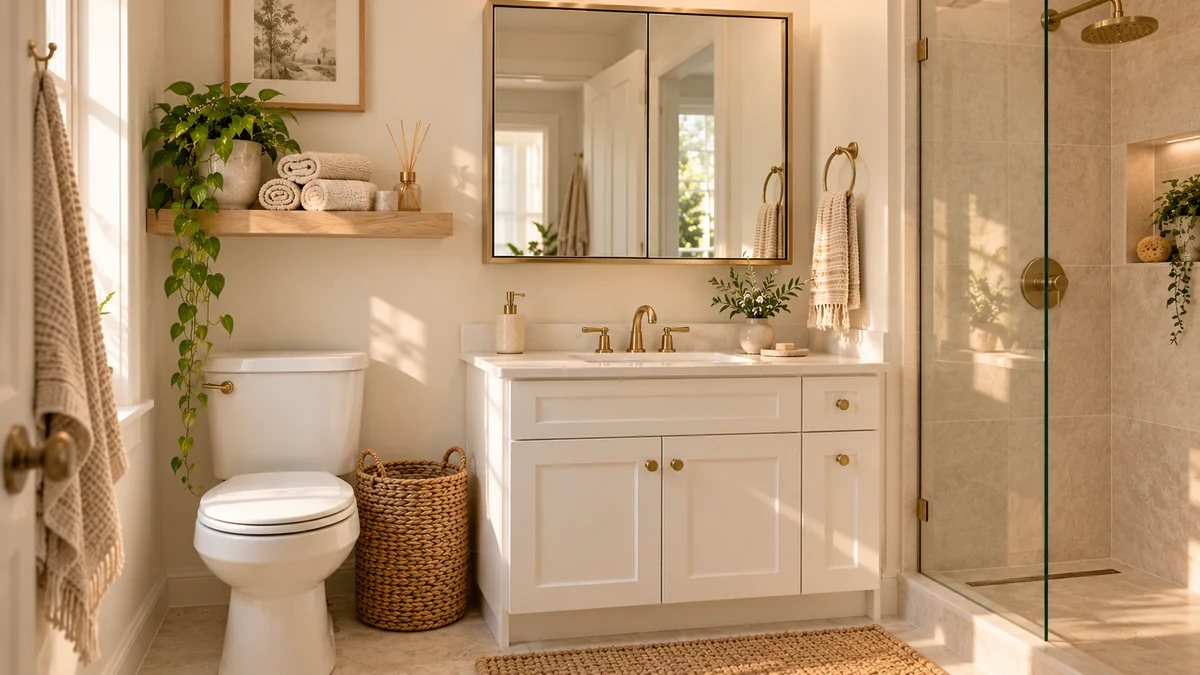
The counter is clear, not because less lives in this bathroom, but because everything finally has somewhere else to be. That is the entire premise behind every one of the Small Bathroom Storage Ideas That Don’t Sacrifice Style covered in more depth elsewhere on this site.
The transformation photographs as dramatic, but the honest version of a project like this is quieter than that. Most of the real work happens before a single new product arrives, in the twenty minutes spent deciding what does not belong in the room anymore.
Reaching the sink now takes one motion instead of two. Nothing needs to be nudged aside first, which sounds small until it has been repeated every morning for months.
The room also looks bigger, though nothing about its actual footprint has changed. That is what an empty counter does to a small space: it reads as more generous than the square footage on paper would suggest.
Perceived space often has more to do with what a room does not contain than with its actual dimensions.
The complete Small Space Storage Ideas: The Complete Guide carries this same room-by-room approach from the bathroom into the kitchen and bedroom, for anyone planning more than one makeover at a time.
What This Small Bathroom Storage Makeover Actually Proves
None of this required a renovation budget or a single wall moved. It required an honest look at what was already there, and three additions chosen for how they would be used, not how they would photograph on day one.
The same three-step order, edit first, then add vertical storage, then add one piece of enclosed storage, applies just as well to a kitchen counter or a bedroom closet facing the same kind of slow, invisible clutter. For more calm, clutter-free small bathroom ideas, from layout to lighting, see the complete guide.
That order, more than any single product, is what separates a makeover that lasts from one that quietly reverts to clutter by the second month.
Frequently Asked Questions
How Much Does a Small Bathroom Storage Makeover Typically Cost?
Under two hundred dollars for a shelf, a basket, and a mirrored cabinet, which covers most of what a cluttered small bathroom actually needs.
Should Decluttering Happen Before or After Buying New Storage?
Before, always. Clearing the counter first usually reveals that far less storage is needed than it first appeared, which changes what actually gets bought.
Can This Makeover Work in a Rental Bathroom?
Usually, yes. The basket needs no installation at all, and the shelf and surface-mounted cabinet only leave a few small screw holes, which are easy to patch before moving out. Check your lease first, since some landlords ask to approve anything screwed into the wall.
How Long Does the Entire Makeover Take?
A single afternoon for the decluttering pass, and a single Saturday for installing all three pieces, which makes the whole project realistic to finish over one weekend, even for someone who has never used a drill before.
About the Author
Sofia writes about small-space design the way an editor writes about craft, with an eye trained on light, proportion, and restraint. A believer in Scandinavian minimalism and multifunctional furniture, she built SofiDecor around one conviction: a compact home can carry the same elegance as any grand one, if every choice in it is made on purpose.